Configuring Custom Columns to Sync Bookshelves and Series Info
The Calibre desktop app allows you to create custom columns to save information that standard metadata fields don't cover. This guide walks through two use cases:
Syncing Titles to Bookshelves
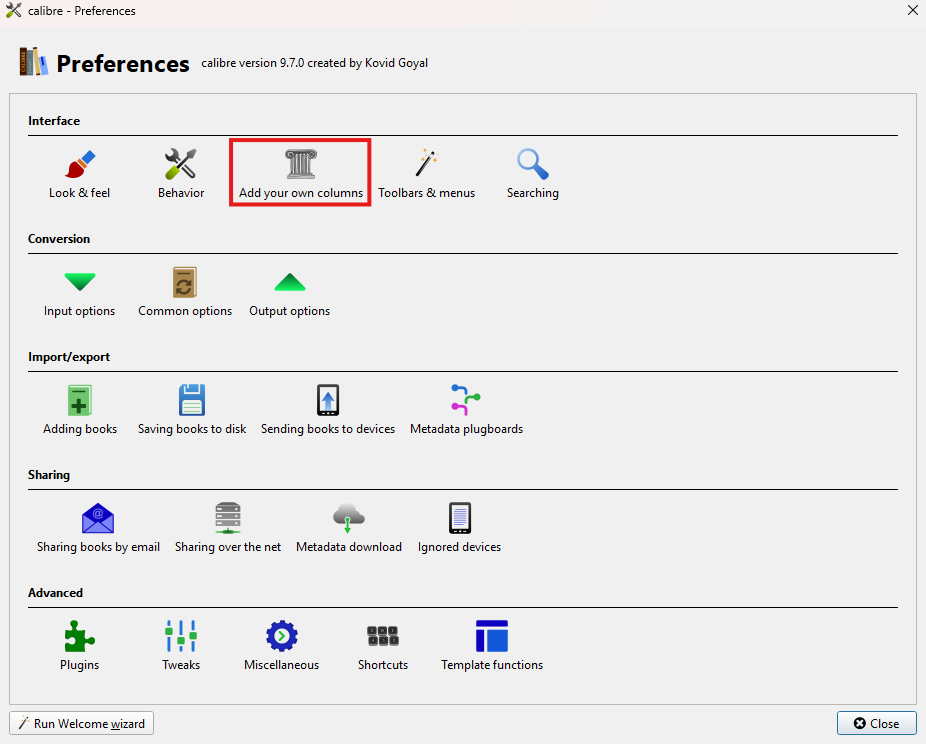
Step 1 — Open Custom Columns Settings
Open the Calibre Preferences window and select the "Add your own columns" section.
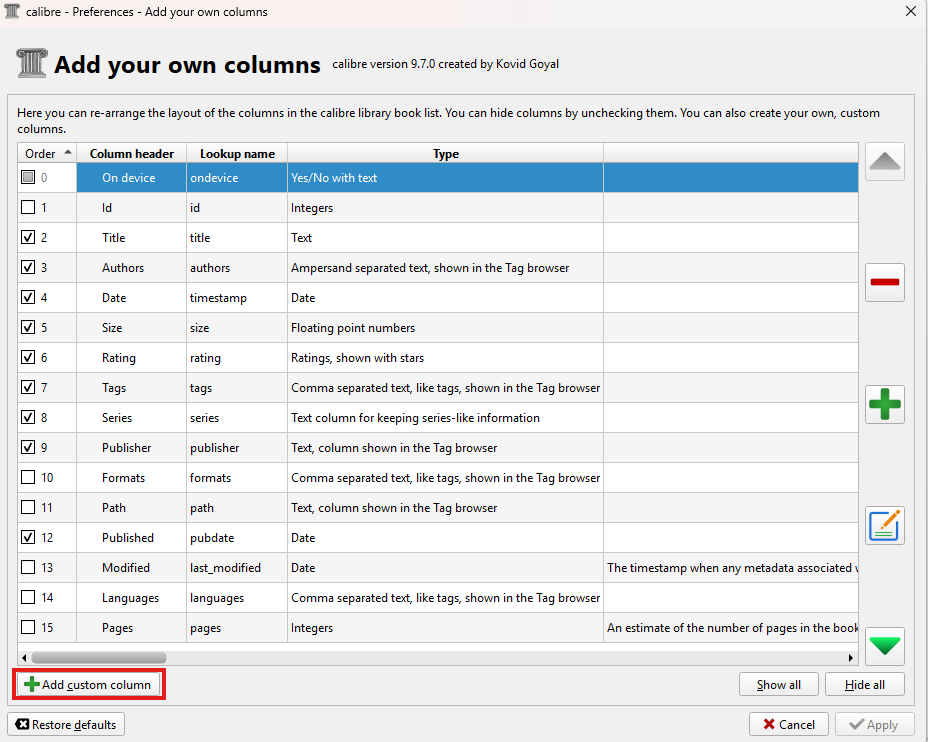
Step 2 — Add a New Column
Click either the "+" button on the right side or the "Add custom column" button at the bottom left of the window.
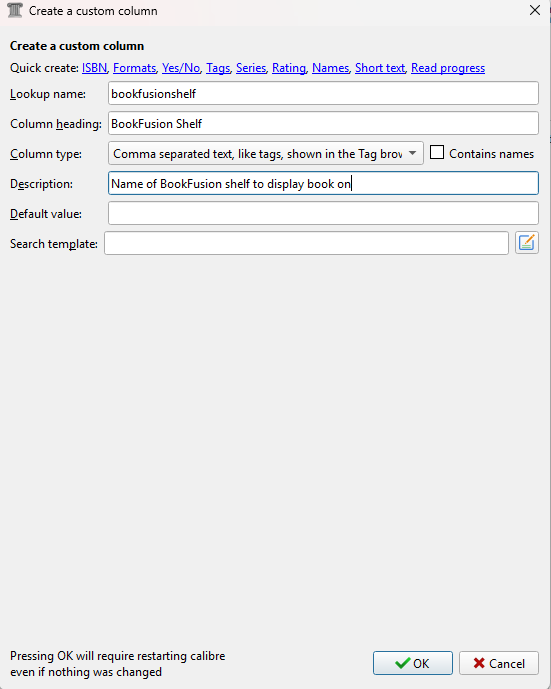
Step 3 — Configure the Column
Use the following recommended settings:
| Field | Value |
|---|---|
| Column type | Start with Short text, then change the dropdown to comma separated text, like tags |
| Column heading | Any name you prefer (e.g. BookFusion Shelves) |
| Lookup name | No spaces allowed (e.g. bookfusion_shelves) |
Click "OK", then "Apply" on the main preferences screen. Calibre will prompt you to restart for the new column to take effect.

Step 4 — Add Shelf Names to Your Books
After restarting, you'll find the new field on the "Custom metadata" tab when editing a book's information. You can add as many shelf names as you like:
- To add a book to an existing BookFusion shelf, match the shelf name exactly.
- To create a new shelf, simply type a new name — it will be created automatically on sync.
Step 5 — Link the Column in the Plugin Settings
Make sure the plugin is configured to use your new column. Click the BookFusion plugin icon and choose "Configure" (or customize the plugin via Preferences).
In the configuration screen, select your newly created column under the "Bookshelves Column" setting.
See Installing & Using the BookFusion Plugin for Calibre for setup instructions.
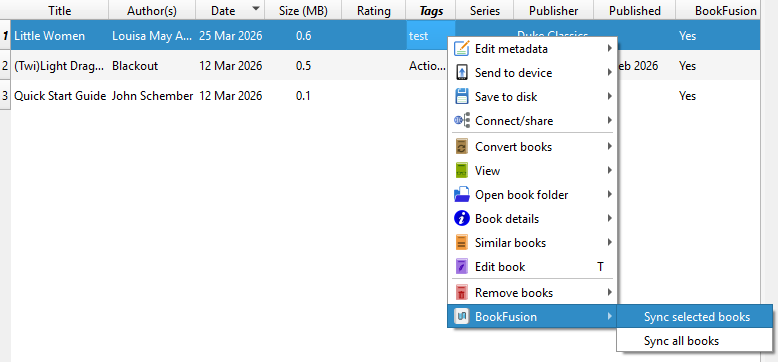
Step 6 — Sync Your Books
You can either sync your full library or select specific books, right-click, and choose the BookFusion menu to sync selected titles only.
Syncing Additional Series Info
Some series connect with other series to create a larger world of related books. You can set up a second series field as a custom column to handle this. Start by opening Preferences and adding a new column as described in Steps 1 and 2 above, then continue below.
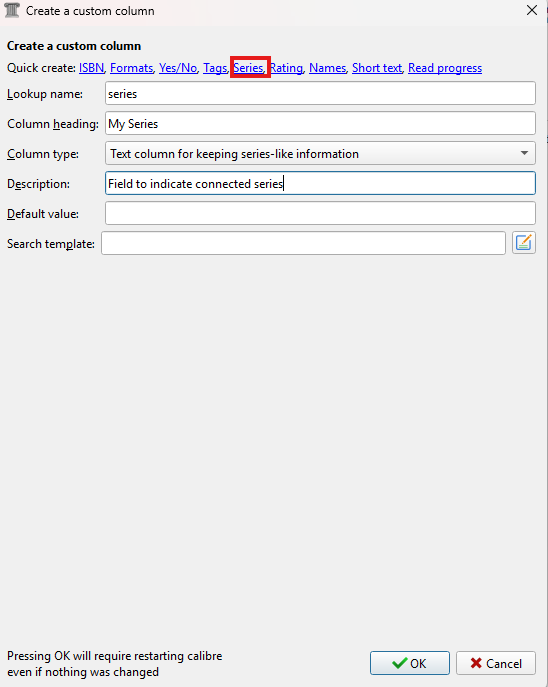
Step 1 — Configure the Series Column
When setting up the new column, click the "series" option at the top to pre-populate the template. Leave the column type as "text column for keeping series-like information" and set the name fields as desired (no spaces in the lookup name).
Step 2 — Add Series Info to Your Books
Add the additional series information on the "Custom metadata" tab when editing a book. For example, you might use this field to connect various books under a shared universe, such as grouping related titles under a broader series name.
Step 3 — Sync to BookFusion
Once you've added the series information to your books, run a BookFusion plugin sync. The books in your BookFusion library will now display both series fields.
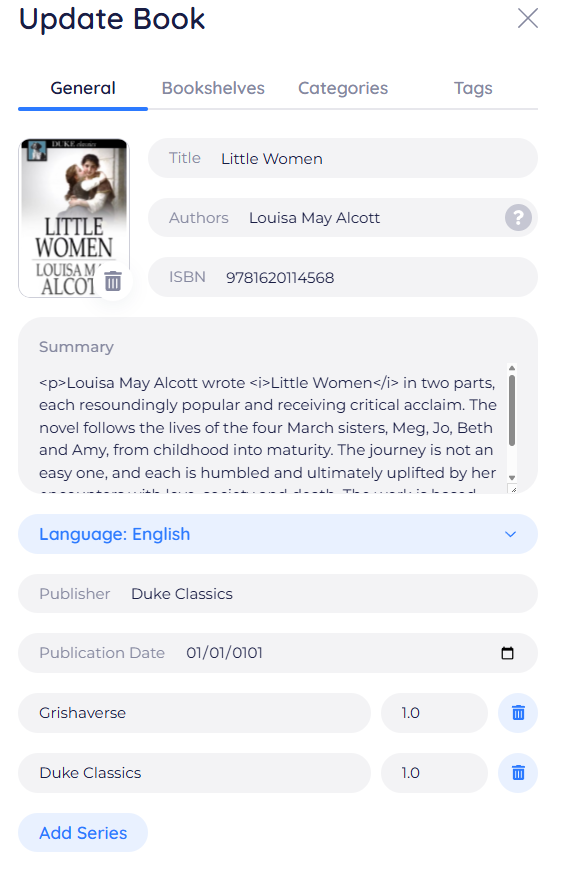
If you are syncing multiple series fields, make sure they do not share the exact same name. Even if the numbering differs, two series with identical names cannot be differentiated, and the information will not display correctly.